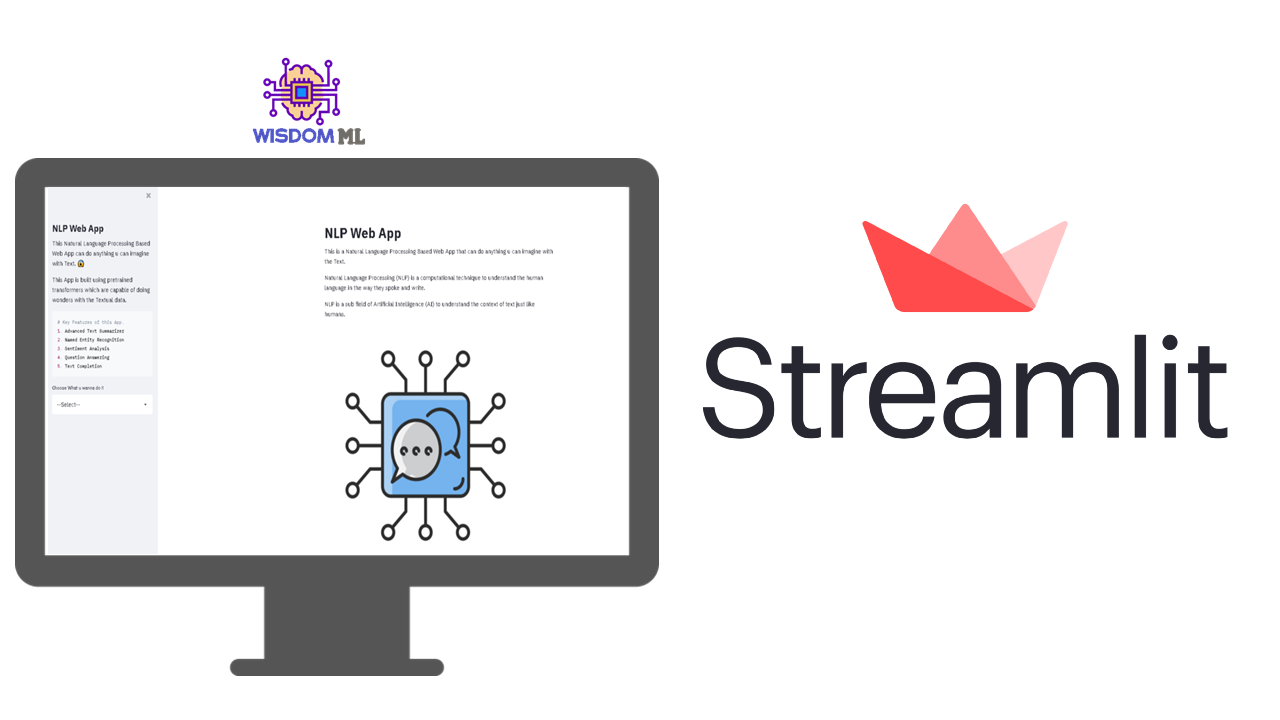
This article is the continuation of our previous post in which we demonstrated the development of an NLP App using streamlit, spaCy and Hugging face transformers and tested it by running on localhost. You can read this post in case you want to know how to develop NLP App.
In this article, we will demonstrate how we can deploy NLP App on a streamlit platform i.e., streamlit sharing so that we can share the link of our live web app to our friends, colleagues or even place it in our work profile to show our deployment skills.
Organizing the code
So, for deploying any web app on streamlit sharing platform which is a free platform for developers to deploy web apps, we need to organize our project with the following guidelines:
- In the project root directory, we need to place the actual code i.e., the python file which is app.py in our case.
- requirements.txt file containing all the libraries with a proper version also needs to be placed in the root directory of the project.
The structure of the project directory should be like the below:

The content of our requirements.txt file is shared below:
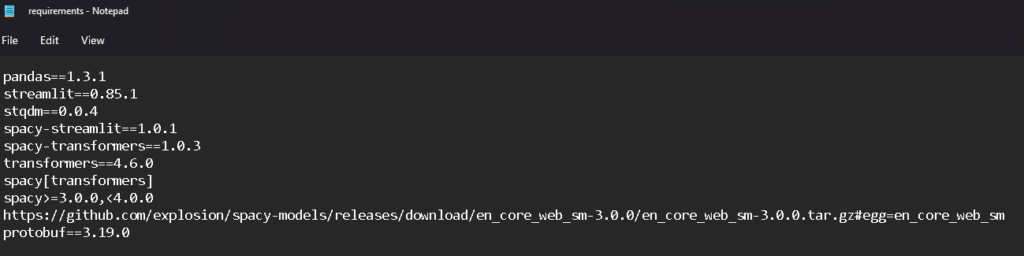
Note: As we have used the spacy en_core_web_sm model for named entity recognition tasks so we need to download the spacy model in the environment. That’s the reason we have mentioned the full URL for downloading the spacy model in requirements.txt i.e.,
https://github.com/explosion/spacy-models/releases/download/en_core_web_sm-3.0.0/en_core_web_sm-3.0.0.tar.gz#egg=en_core_web_smCreating Git repo
Now, the next step is to create a Git repo and place all the code in the repo itself as we will deploy our app from the Git repo only. You can visit our repo to check the structure of code.
Login to Streamlit Sharing
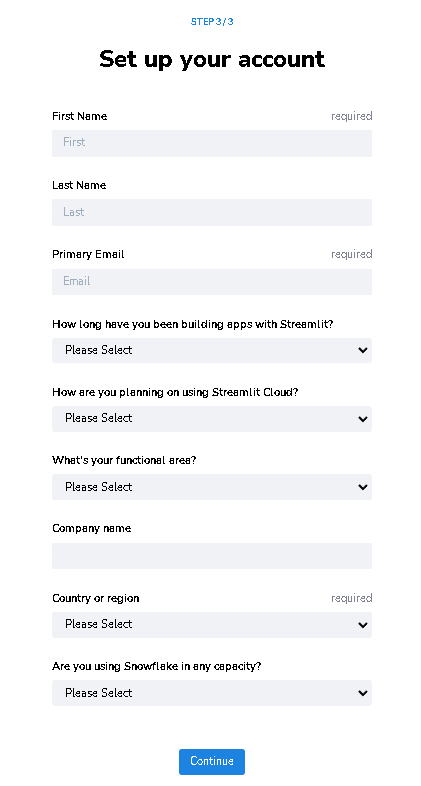
At last, we have to visit https://share.streamlit.io/ and log in with GitHub or Google sign-on. If you are logging in the first time you have to set up your account by entering details as shown below.
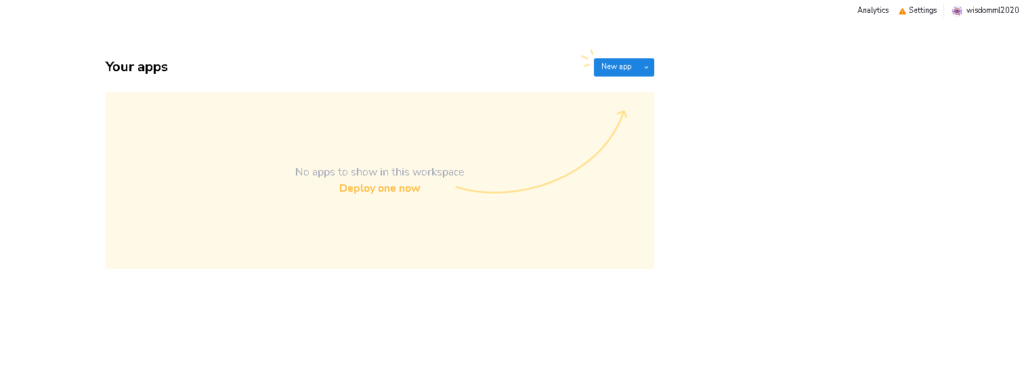
After filling in the above details, you will be redirected to the below page where we have to click on the New App button to start deploying our app.
After clicking on New App we have to select Deploy New App “From existing repo”
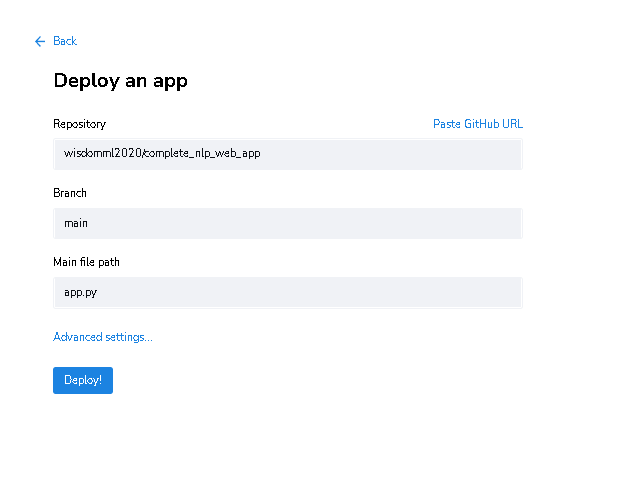
Next, we have to select certain options in the Deploy an app page on streamlit as shown in the image below.
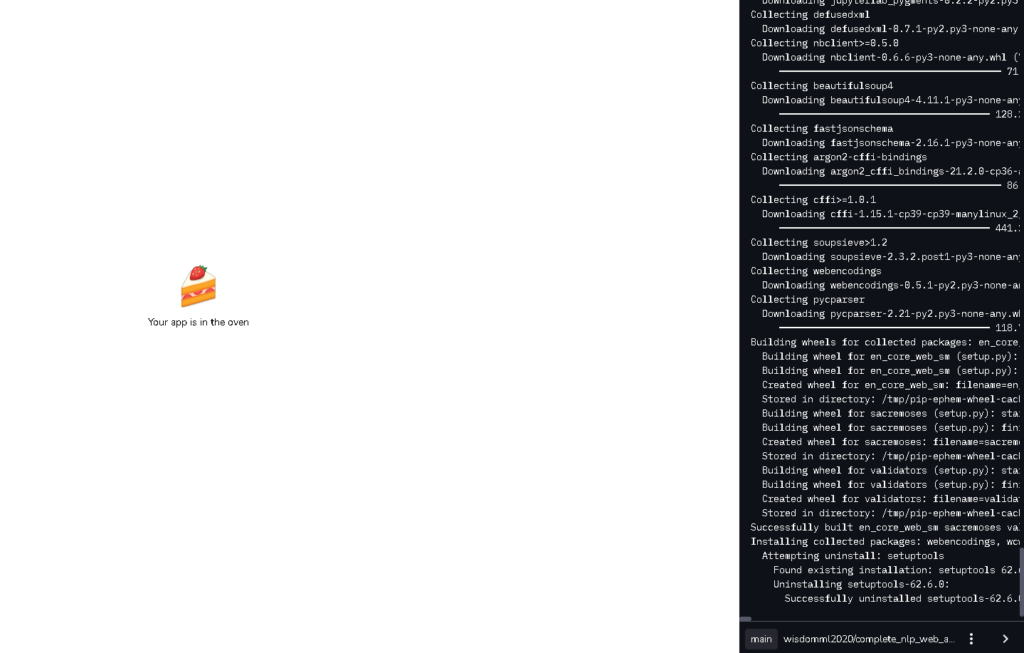
After clicking on deploy it will take some time depending on the size of your app. You can also see the live status of your app deployment by clicking on the manage app button on the next screen.
After waiting for some time your app will be opened as shown below.
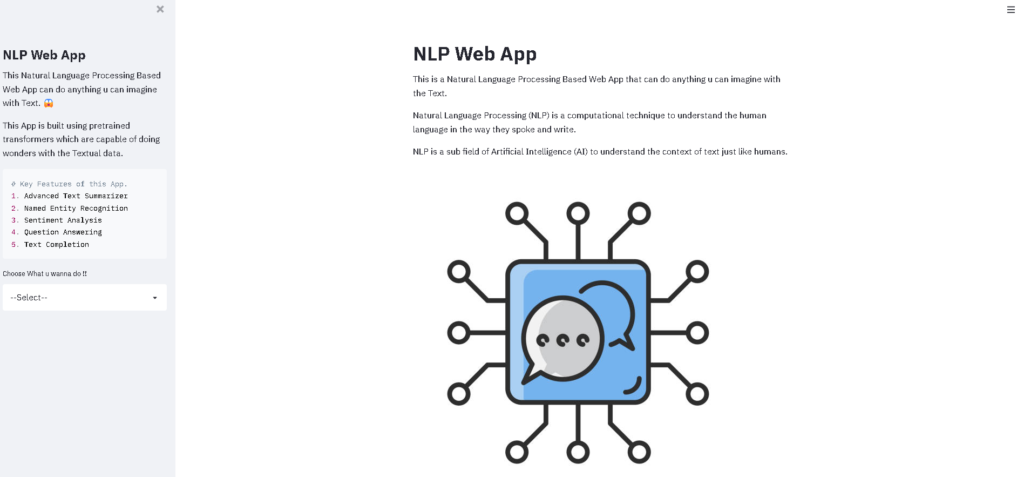
That’s it we have successfully deployed our NLP app on streamlit share platform.
Thank you for reading! Feel free to share your thoughts and ideas.